DIY Food & Watching Clownfish Eggs Develop
Written by Diamond Dave — October 10, 2026
Simple ways to supplement feeding and tracking the natural life cycle in your reef tank.
The newsletter for intermediate saltwater keepers who want better eating habits for their fish and a clearer understanding of captive breeding cycles.
Feeding time: Making your own little supplements
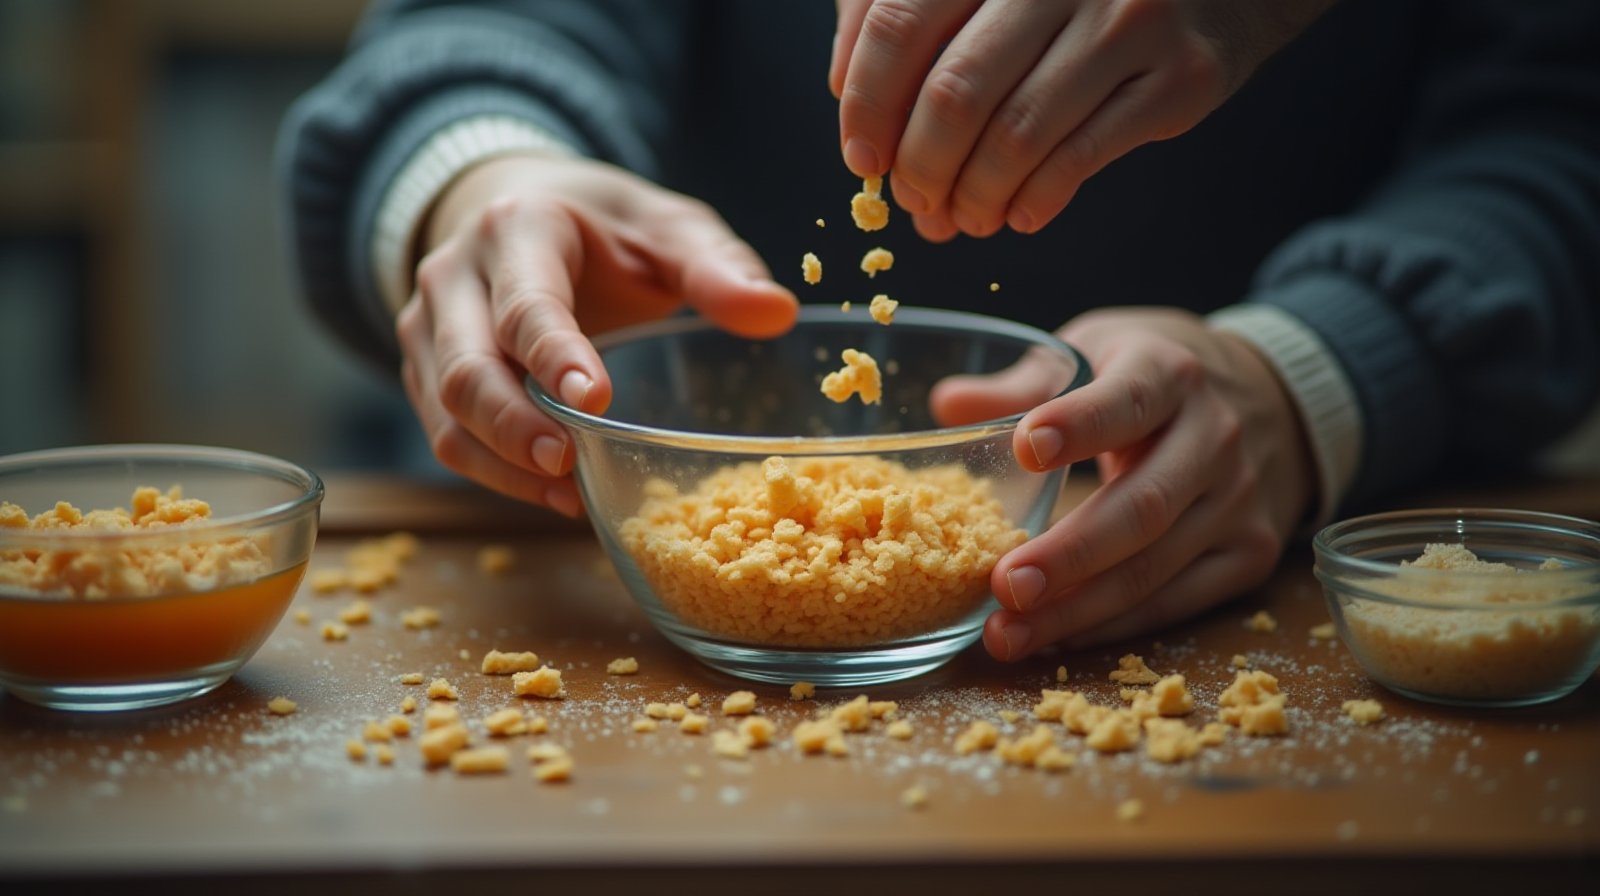
Most people think that if they want to give their fish a “premium” diet, they have to buy those fancy, high-priced powder mixes or specialized frozen treats from specialty shops. While those are fine tools to have in your cabinet, you can actually do quite a bit with what’s already in your kitchen. I’ve found that many of the most common issues—like fish getting sluggish or colors looking dull—can be addressed by simply diversifying their intake.
Instead of jumping straight to expensive supplements, try starting small and natural. For example, if you have a community tank, tossing in some blanched peas can help clear out digestive tracts, or using high-quality frozen brine shrimp as a weekly treat provides more “substance” than many standard pellets do. The goal here isn’t to create a gourmet feast every day, but to give them variety. You don’t need a chemistry degree to provide better nutrition; you just need to move beyond the basic pellet and offer different textures and food groups once or twice a week.
The ‘Don’t Mix Everything’ rule for DIY food
One of the biggest mistakes I see people make when they try to “improve” their fish’s diet is overcomplicating the ingredients. It’s tempting to think that adding every vitamin or extra protein you can find will result in a healthier fish, but it usually just leads to more waste and harder water chemistry for you to manage. In my experience, if you aren’t sure what an ingredient does for your specific species, leave it out of the mix.
When people try to make “homemade” food by mixing various powders into pellets, they often end up with a messy slurry that doesn’t stick well or breaks apart too quickly in the water column. This leads to algae blooms and bacterial spikes. Stick to these principles for any supplementary feeding:
- Keep it clean: If it leaves a film on your glass after 10 minutes, don’t feed it as a main meal.
- Target specific needs: Use specialized foods only when you see a specific deficiency.
- Portion control: Just because you made the food yourself doesn’t mean they can have more of it. Less is almost always more in a home aquarium.
Clownfish life cycle 101: Just watching them lay eggs
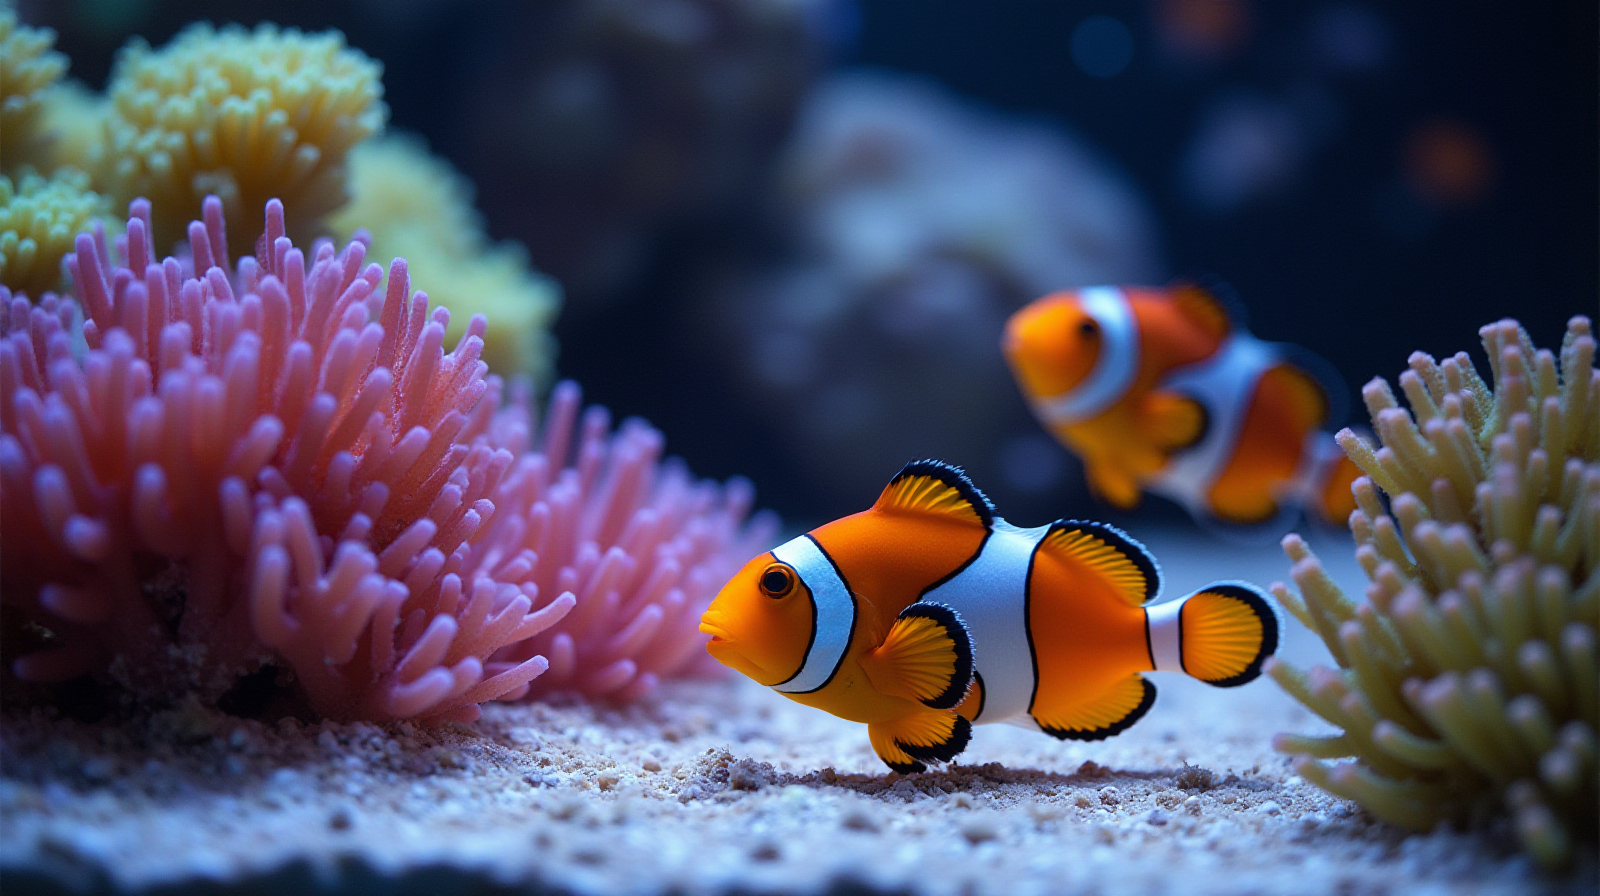
There is something incredibly rewarding about seeing the natural progression of life in your own tank, and clownfish are some of the best subjects for this because they aren’t shy. If you have a pair that has settled into their territory, you might notice them “dancing” or hovering near each other more frequently. This often precedes them finding a spot to lay eggs.
When they do lay, it’s an amazing thing to witness—the way they move the eggs and fan them with their fins. For most of my hobby, I’ve found that the best first step isn’t trying to “manage” the process or intervene at all; it’s simply observing. Watching those tiny white dots develop over a few days is a great way to connect with the biology of your tank. You don’t need special equipment to watch them; you just need a little bit of patience and an eye for detail. It moves the hobby from “keeping fish in a box” to actually understanding their life cycle as it happens right in front of you.
From fry to little buddies: What comes after the bubble nest?
Once those eggs hatch, things move very quickly. The transition from what we call “larvae” to actual juvenile fish is one of the most fascinating parts of the hobby, but it’s also where many beginners get overwhelmed by the complexity. In the beginning, they are tiny and fragile, and your main job isn’t actually feeding them yet—it’s just letting them grow in a controlled environment.
The progression generally follows this path:
- Hatching: The larvae emerge from the eggs and spend their early days mostly relying on their yolk sacs for energy.
- Free Swimming: They begin to move more independently, which is when they start looking like miniature versions of adults.
- Juvenile Stage: This is where they become “little buddies.” At this point, they are hardy enough that you can begin the process of acclimating them to larger environments or different water parameters.
It’s a gradual shift from observation to active care. You don’t have to jump straight into a massive breeding colony; just watching a few grow into juveniles is plenty for most home setups.
A quick check-list before you start feeding or breeding
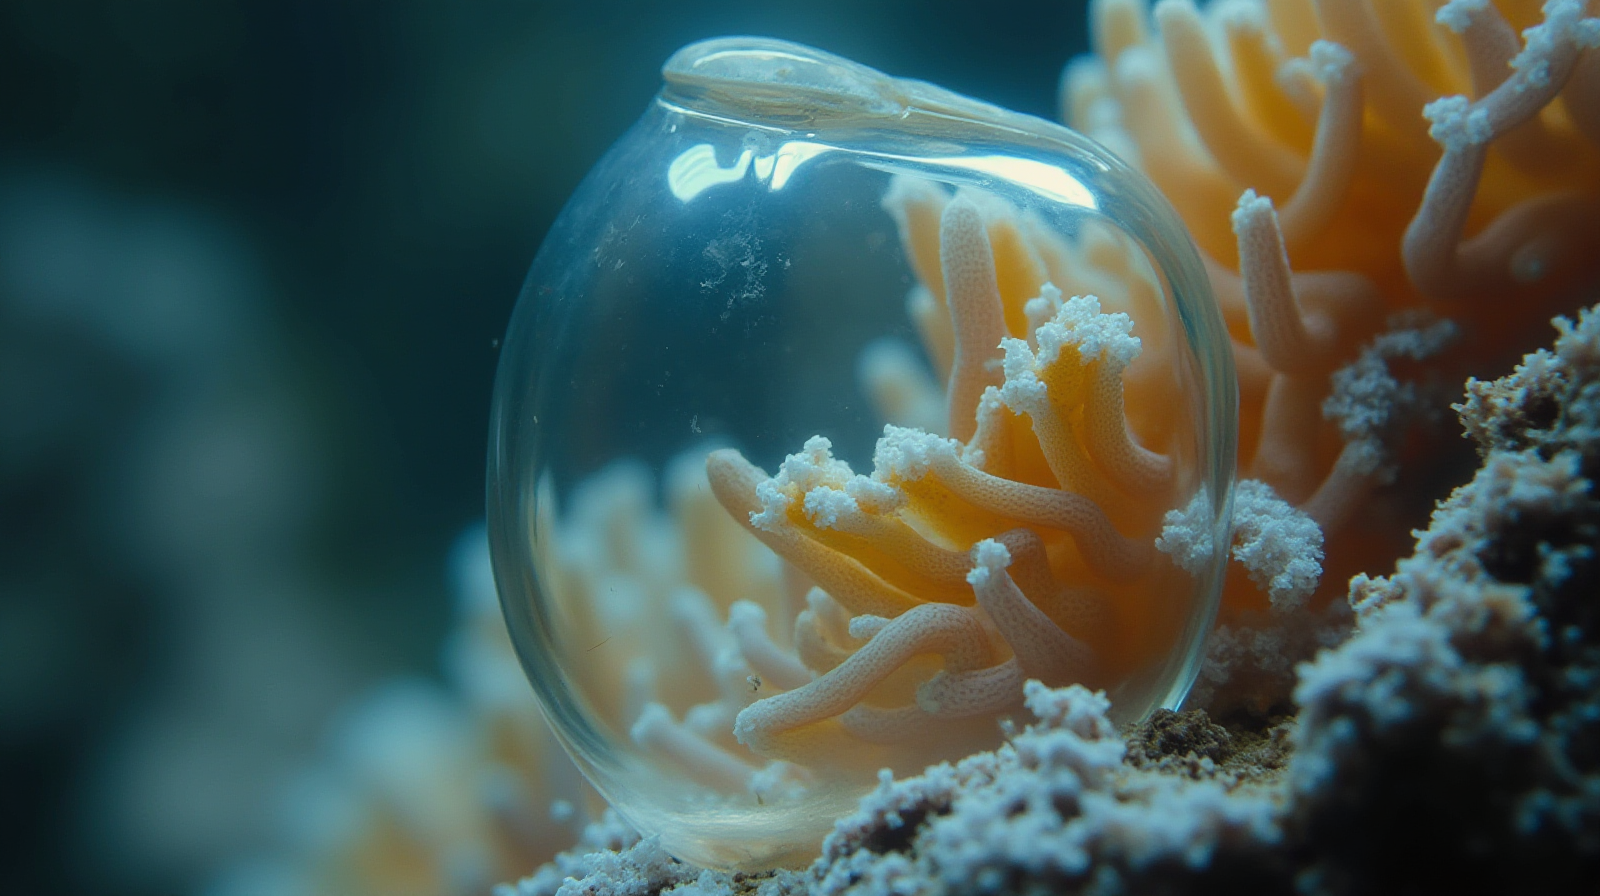
Before you decide to get more involved with supplemental feedings or try to encourage breeding in your tanks, it helps to ground yourself in some practical “housekeeping” steps. It’s easy to get excited about the possibilities of a growing population and forget that more fish means more work for your filtration system and water chemistry.
Before you move forward, check these three things:
- Space: Do you have a dedicated area or a secondary tank where “extras” can go? You don’t want to overpopulate your main display just because the breeding was successful.
- Stability: Is your current water chemistry stable enough to handle more waste? If you’re still seeing swings in ammonia or nitrates, wait before adding more life.
- Knowledge Base: Do you have a plan for what happens once they grow up? Decide now if these fish will stay as “babies” in a nursery tank or if you intend to move them into your main display later.
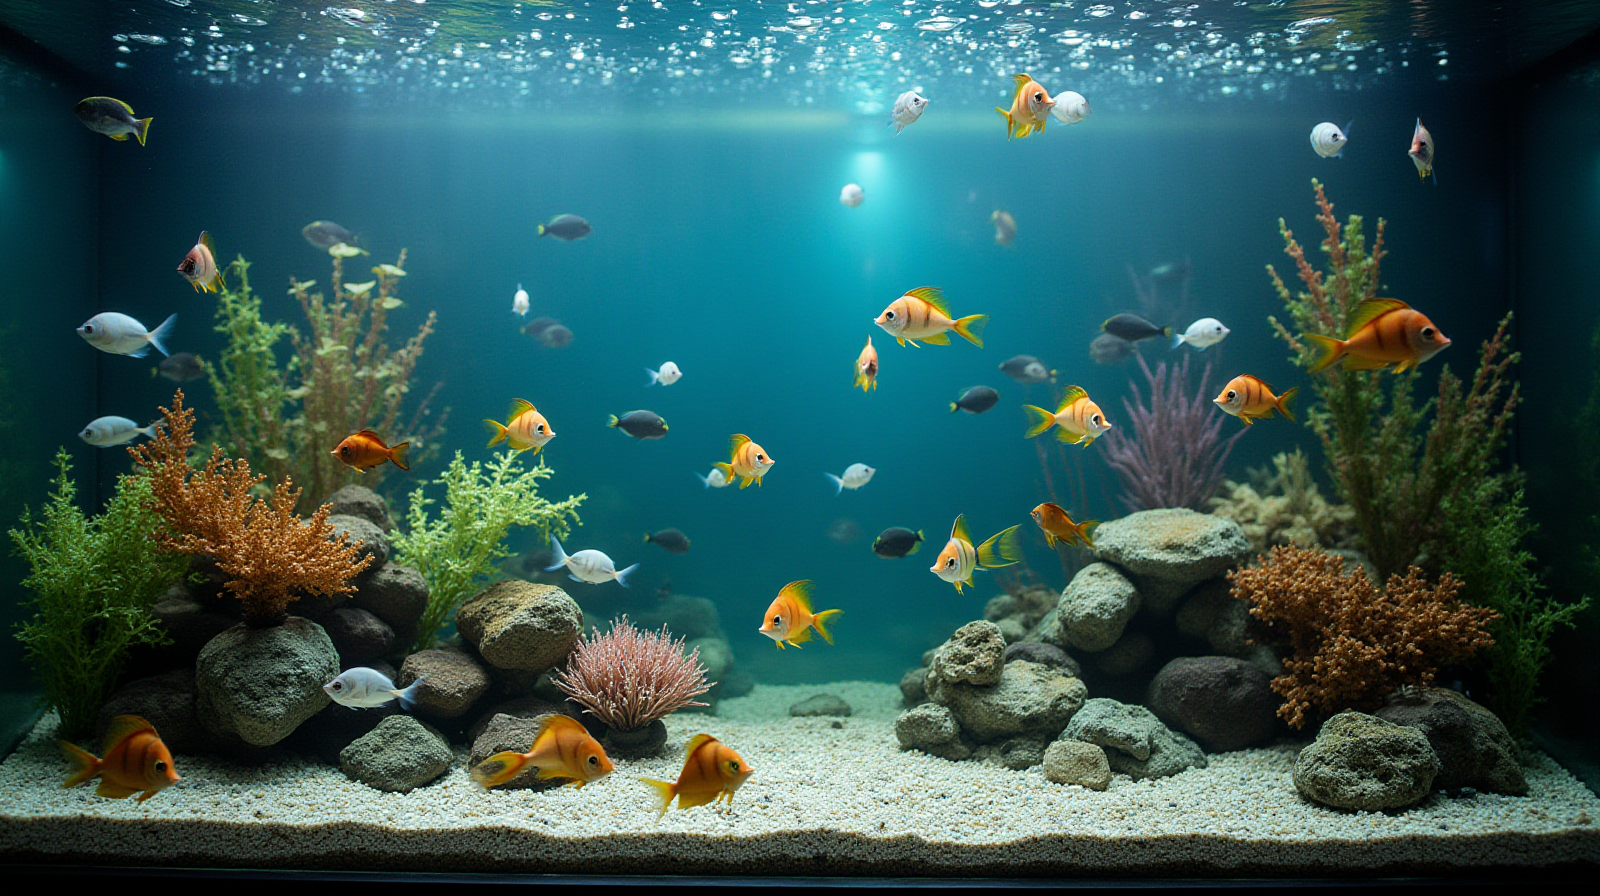
If you’re unsure about how much space you need or want to see some examples of smaller habitats, take a look at the guide library for some layout ideas that work well for growing juveniles.
Source: Reefs.com
Get new newsletter issues, guides, and product updates by email.