
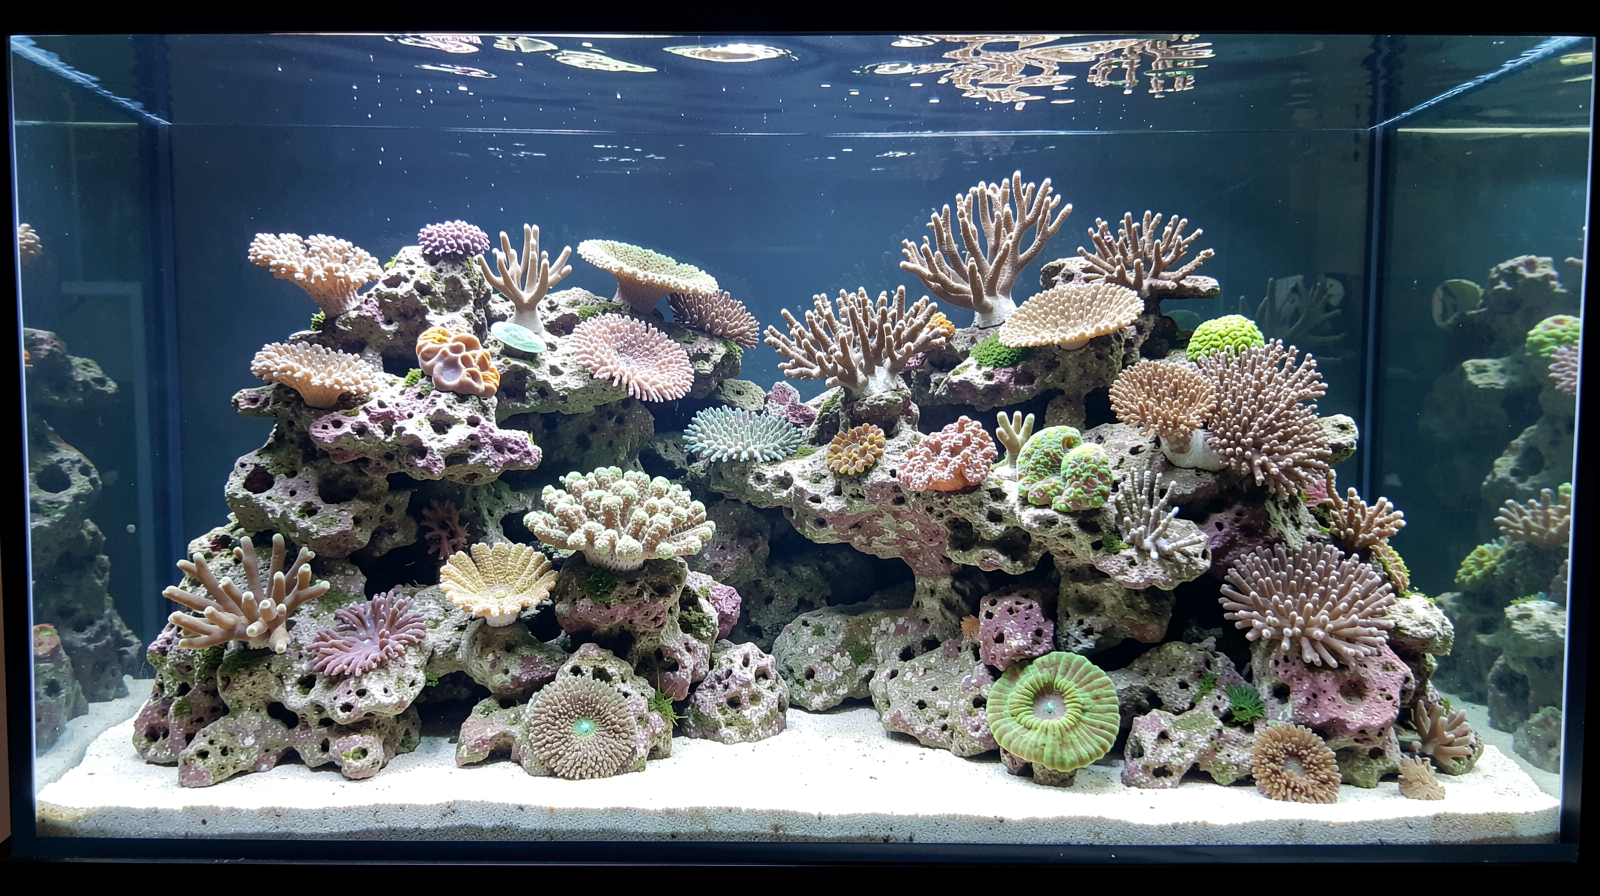
Making Your Reef Grow Right: Lighting, Dosing, and Coral Care
Written by Diamond Dave — October 24, 2026
Turning complex reef management into manageable steps for the dedicated home keeper.
The newsletter for intermediate saltwater keepers who want more vibrant corals without guessing which chemical is needed or when to add it.
Let’s talk about light—it’s not just ‘on’ and ‘off.’
When I first started getting into reef tanks, I thought “more light equals more growth.” That was my first mistake. In a reef system, light is one of your primary tools for controlling what actually lives in the water. Corals need specific spectrums—mostly blues and whites—to photosynthesize and thrive. If you crank up the intensity too high or use a broad-spectrum bulb that mimics a standard house lamp, you aren’t just helping the coral; you’re feeding the nuisance algae.
It is about balance. You want enough light to keep your corals vibrant, but not so much that it turns into an algae forest within a week. I always tell people to think of it like a dimmer switch rather than a toggle. You have to find that “sweet spot” where the coral looks healthy and colors pop, but the rocks stay relatively clean. Timing matters here too; mimicking a natural day/night cycle helps settle the inhabitants into a rhythm, which reduces stress on the livestock.
Dosing doesn’t mean guessing. It means knowing your targets.
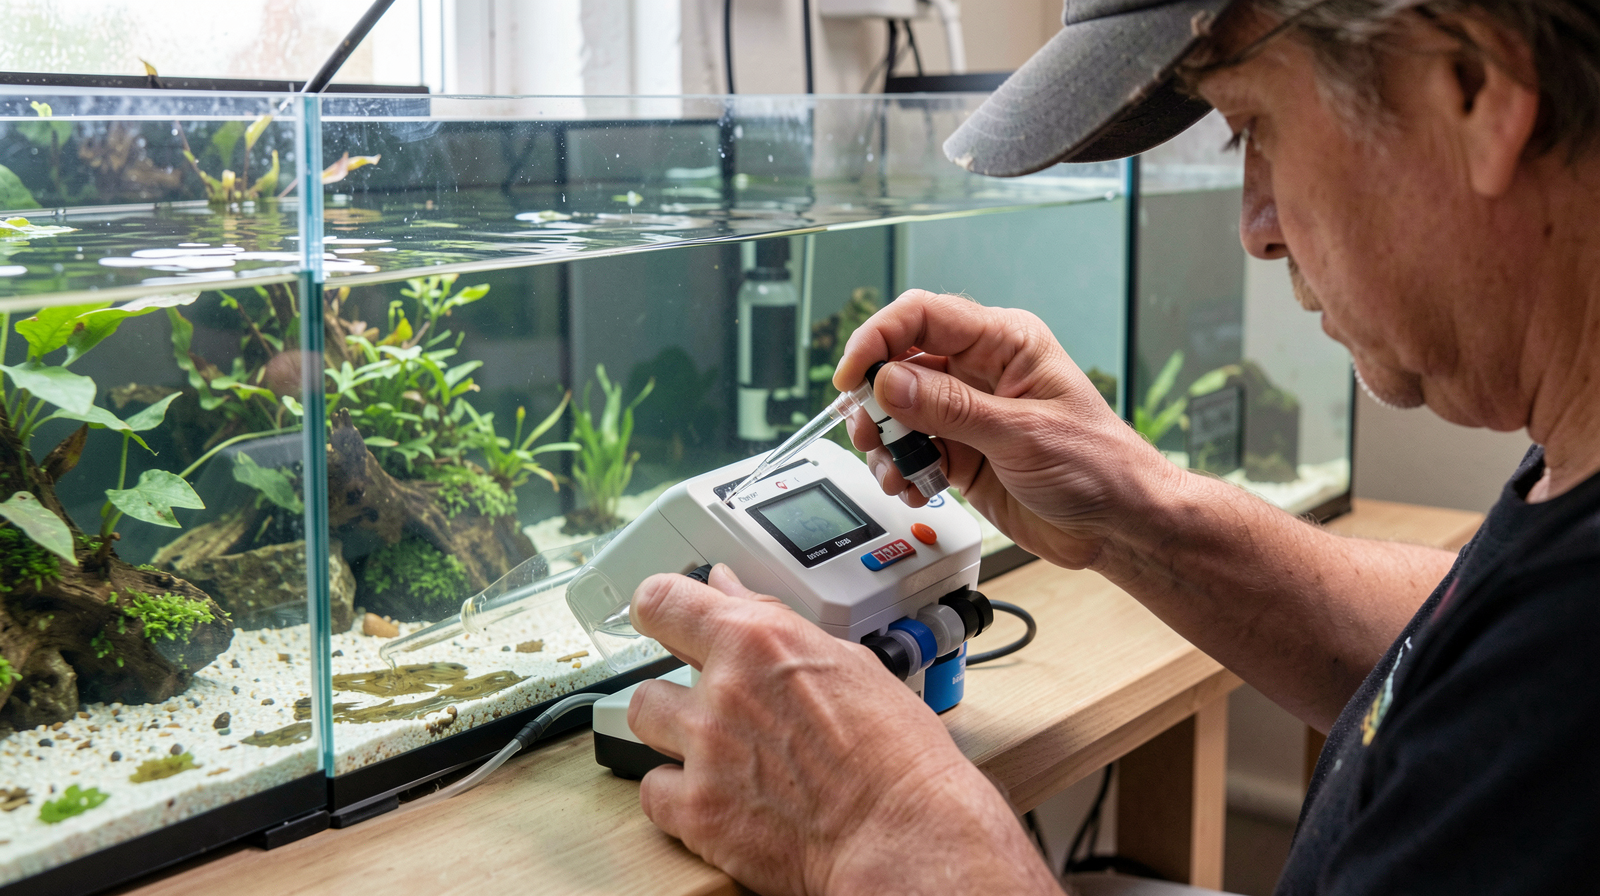
A lot of people see “dosing” and think they need to become a chemist overnight. You don’t, but you do need to understand why we do it. Corals pull minerals out of the water to build their skeletons. If you don’t put those minerals back in, your levels will eventually bottom out, and your corals will stop growing or start dying. We focus on three main pillars: Alkalinity (dKH), Calcium, and Magnesium.
The goal is stability. I would much rather have a tank that stays at the same level all week than one that swings wildly from morning to night. This is where automation becomes a helpful tool, but it isn’t a “set it and forget it” magic wand. You still need to test your water manually to see if your dosing pump is actually doing its job correctly. If you don’t know your baseline numbers, the equipment can’t help you much. Think of it as maintaining a steady environment so the fish and coral don’t have to constantly adapt to changing chemistry.
The coral propagation corner: When to move from ‘watching’ to ‘doing.’
There comes a point in every hobbyist’s journey where watching your corals grow is no longer enough, and you want to start making them bigger. Propagation—or “fragging”—is how we do that. You don’t need a massive laboratory setup to start. It begins with moving from just observing the colony to actually preparing it for division.
For most home keepers, I suggest starting with small colonies or high-quality frags on plugs. You aren’t trying to turn your whole tank into a nursery overnight. Start by identifying a piece of coral that looks healthy and has plenty of “meat.” Use basic tools to make a clean cut, and then give that piece space to recover. It’s about patience here; you have to let the new fragment heal before it can start growing again. Don’t rush the process or try to move too many pieces at once. Small wins are much better than trying to overhaul your entire collection in one weekend.
Common pitfalls I ran into when my tanks got ‘too fancy.’
I’ve spent a lot of time making mistakes so you don’t have to. One of the biggest ones I made was being too aggressive with changes. I once tried to ramp up my lighting and dosing levels way too fast because I wanted to see immediate results. Instead of seeing faster growth, I saw an explosion of hair algae that took months to clear out.
Another mistake is “set it and forget it” syndrome regarding chemistry. It’s easy to assume everything is fine because the fish look okay today. But nitrates can creep up slowly over weeks without you noticing until it’s a real problem. I also learned the hard way that skipping the boring stuff—like regular water changes or cleaning the glass—leads to a decline in overall health that no amount of fancy dosing can fix. It’s always better to make small, incremental adjustments than to try and “fix” a tank with a massive overhaul.
A simple workflow checklist for reef maintenance.
Keeping a reef healthy doesn’t have to be an overwhelming daily chore if you break it down into manageable pieces. I find that having a routine helps take the guesswork out of things. It keeps you from feeling like you’re constantly reacting to problems and lets you stay ahead of them instead. Here is how I generally approach my maintenance schedule:
| Frequency | Tasks to Complete | What to Look For |
|---|---|---|
| Daily | Check temperature, feed livestock, observe behavior. | Any signs of lethargy or unusual spots on fish/corals. |
| Weekly | Top off fresh water (ATO check), skim waste, clean glass. | Build-up of detritus in corners or on the sand bed. |
| Bi-Weekly | Test Alkalinity, Calcium, and Magnesium levels. | Significant swings in dKH or a steady decline in minerals. |
| Monthly | Full water change (10-20%), deep clean equipment, test Nitrates/Phosphates. | Overall nutrient trends and general tank cleanliness. |
By sticking to this rhythm, you’ll catch small issues before they become “tank emergencies.” Your results will vary depending on your specific livestock and flow rates, but this framework keeps the basics covered.
Source: Reef Builders
Get new newsletter issues, guides, and product updates by email.